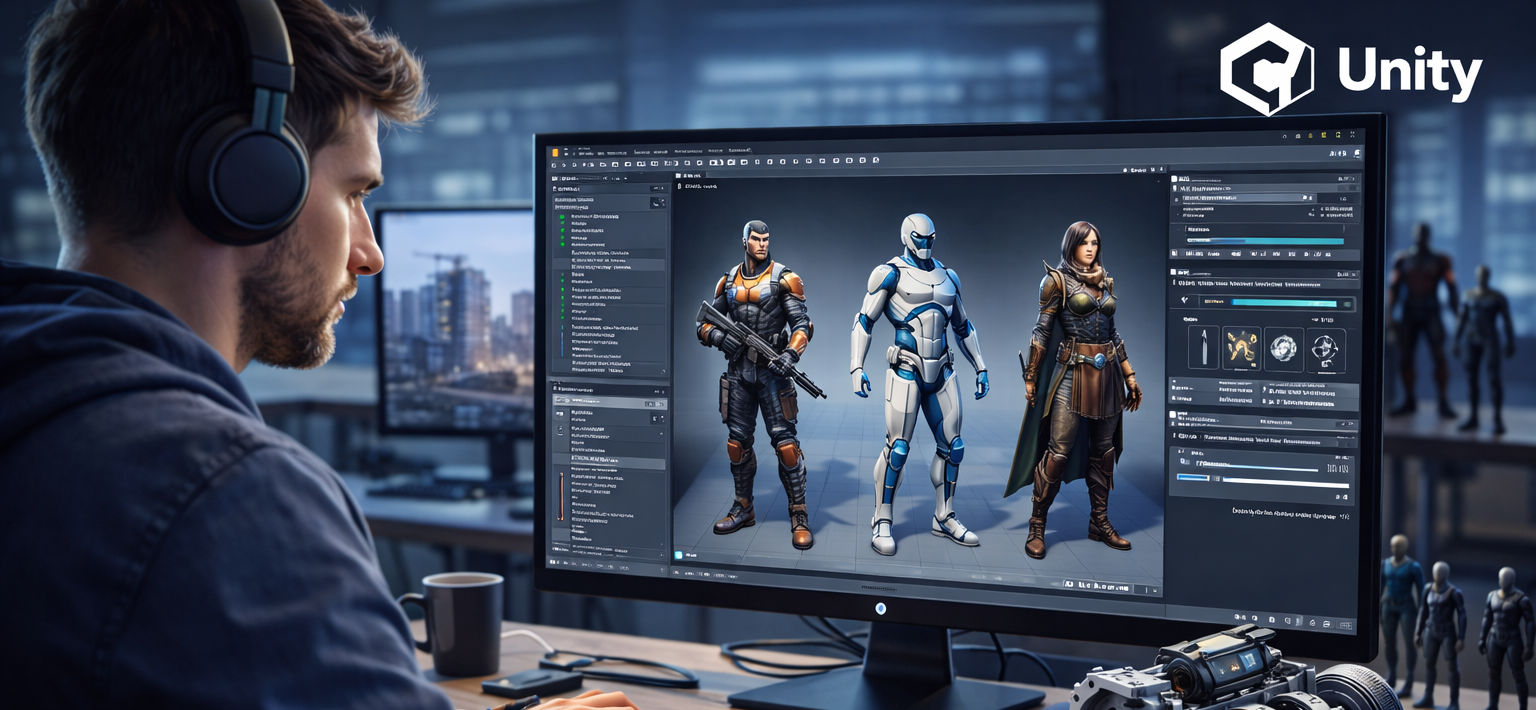
3D Humanoid Characters in Unity
3D Humanoid Characters in Unity introduces the process of creating, importing, and working with humanoid characters in the Unity game engine. This course covers character setup, rigging basics, animations, and integration techniques, helping learners understand how humanoid characters are developed and used within interactive Unity projects.


3D Humanoid Characters in Unity
Original price was: £425.£29Current price is: £29. ex Vat
Save 93.18 % - OFFER ENDS SOON
OR
Or
 Take All courses for £49
 1 Year Access
 -
Intermediate
-
164 Students
-
6 hours, 21 minutes
 1 Year Access
 164 Students
  6 hours, 21 minutes


Course Curriculum
| Module 01: Introduction | |||
| Welcome | 00:01:00 | ||
| Module 02: Creating and Rigging Characters | |||
| Using Autodesk’s Character Generator | 00:09:00 | ||
| Creating characters with Adobe Fuse | 00:08:00 | ||
| Auto-rigging with Adobe Mixamo | 00:03:00 | ||
| Applying animation to rigged characters in Mixamo | 00:03:00 | ||
| Importing an Autodesk character into Adobe Mixamo | 00:03:00 | ||
| Selecting and animating a fantasy character within Mixamo | 00:04:00 | ||
| Exploring commercial rigged and animated characters | 00:03:00 | ||
| Module 03: Setting the Scene | |||
| Using Unity Hub to install the Unity Editor | 00:06:00 | ||
| Configuring Unity’s user interface | 00:04:00 | ||
| Importing and setting up an architectural model | 00:07:00 | ||
| Importing selected standard assets | 00:05:00 | ||
| Rendering lightmap data for static objects | 00:05:00 | ||
| Module 04: Character Materials, Textures and Normal Maps | |||
| Configuring packages | 00:03:00 | ||
| Creating Cinemachine virtual cameras | 00:08:00 | ||
| Importing a character into Unity | 00:06:00 | ||
| Combining texture maps in Photoshop | 00:09:00 | ||
| Shaders and render modes for eyes and eyelashes | 00:05:00 | ||
| Configuring hair material and texture maps | 00:05:00 | ||
| Combining textures with alpha channel using Gimp | 00:05:00 | ||
| Module 05: Third-Person Character Control | |||
| Exploring an avatar’s bones and muscles | 00:05:00 | ||
| Referencing a controller in the animator component | 00:07:00 | ||
| Controlling the character with scripts and components | 00:07:00 | ||
| Altering code to make the character walk by default | 00:06:00 | ||
| Altering the script to walk and not run diagonally | 00:05:00 | ||
| Module 06: Configuring Characters and Cameras | |||
| Set up Cinemachine FreeLook camera | 00:03:00 | ||
| Fine-tune free look rigs | 00:07:00 | ||
| Replacing animations in controller | 00:07:00 | ||
| Integrating a death animation into controller | 00:07:00 | ||
| Scripting death by falling | 00:05:00 | ||
| Walking upstairs using colliders from hidden ramps | 00:05:00 | ||
| Module 07: Making Characters Easily Interchangeable | |||
| Bringing in a new character | 00:04:00 | ||
| Designing a third person player game object | 00:06:00 | ||
| Connecting FreeLook camera to third person player | 00:03:00 | ||
| Swapping out characters within the third person player | 00:03:00 | ||
| Using legacy characters | 00:06:00 | ||
| Using high quality commercial characters | 00:07:00 | ||
| Making character prefabs and overrides | 00:06:00 | ||
| Module 08: Refining Look with Cinemachine Extensions | |||
| Using the Cinemachine collider extension | 00:06:00 | ||
| Setting up post-processing and anti-aliasing | 00:04:00 | ||
| Configuring post-processing effects | 00:06:00 | ||
| Module 09: Animating Stationary Characters | |||
| Commercial animated stationary characters | 00:07:00 | ||
| Custom animated stationary characters | 00:06:00 | ||
| Providing seating for an animated character | 00:04:00 | ||
| Cropping an animation on humanoid rig | 00:06:00 | ||
| Module 10: Making Non-Player Characters Artificially Intelligent | |||
| Bring in a new character to be driven by Ai | 00:04:00 | ||
| Configuring components on Ai character | 00:04:00 | ||
| Building and refining the nav mesh | 00:05:00 | ||
| Getting agents to climb stairs | 00:03:00 | ||
| Creating off-mesh links | 00:03:00 | ||
| Making nav mesh obstacles | 00:06:00 | ||
| Implementing high-cost areas for the Ai | 00:06:00 | ||
| Abstracting NPC for use with other skins & avatars | 00:06:00 | ||
| Module 11: Converting the Simulation into a Game | |||
| Outlining the goal of the game | 00:03:00 | ||
| Getting the NPC to chase the Player | 00:03:00 | ||
| Getting a hold of the Player’s Animator through code | 00:08:00 | ||
| Logging NPC’s collision with Player to console | 00:06:00 | ||
| Stopping the NPC and killing the Player | 00:07:00 | ||
| Offsetting the death animation | 00:03:00 | ||
| Allowing NPC to take leap with off-mesh link | 00:07:00 | ||
| Module 12: Building a User Interface | |||
| Adding user interface with canvases and buttons | 00:09:00 | ||
| Toggling defeat canvas on when NPC collides with Player | 00:04:00 | ||
| Differentiating between victory and defeat in code | 00:09:00 | ||
| Refining the NavMesh for fluid Ai movement | 00:03:00 | ||
| Building a GameManager class and game object | 00:08:00 | ||
| Connecting Restart buttons to setting bool Property true | 00:05:00 | ||
| Module 13: Playing with Game Controllers | |||
| Connecting controller and testing in game | 00:01:00 | ||
| Mapping the Fire2 axis to run | 00:07:00 | ||
| Mapping the Fire1 axis to crouch | 00:05:00 | ||
| Mapping analogue stick to Cinemachine FreeLook camera | 00:05:00 | ||
| Fine tuning how analog game stick controls camera | 00:05:00 | ||
| Module 14: Conclusion | |||
| Building and playing standalone game | 00:05:00 | ||
| Bonus | 00:01:00 | ||
| Assignment | |||
| Assignment – 3D Humanoid Characters in Unity | 00:00:00 | ||